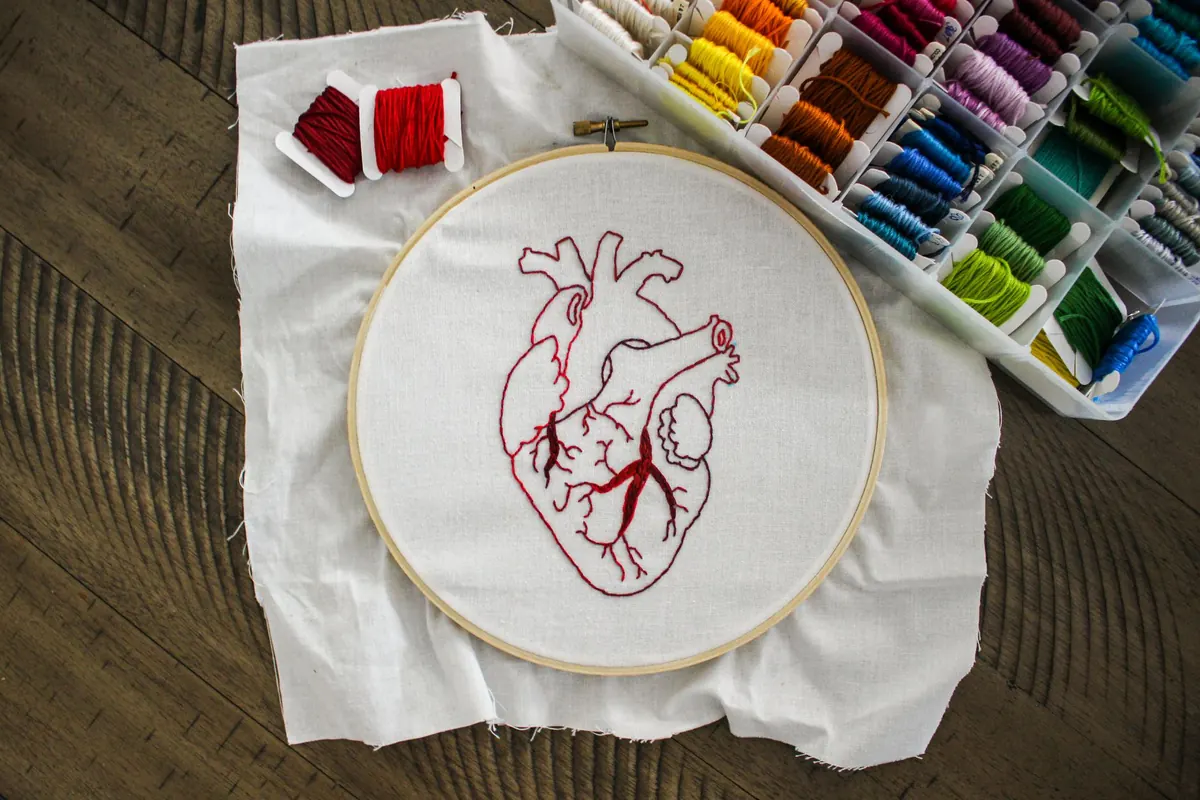
You settle down to stitch, pull a strand of floss, and the whole skein collapses into a knot the size of a pea. Ten minutes later you are still teasing it apart with a needle. Most stitchers have met this particular frustration, and it is almost always a storage problem rather than a stitching one.
The fix is neither expensive nor complicated. It comes down to three things: keeping each colour separate, keeping the twist in the floss intact, and keeping everything away from light and damp. Here is how the main storage options work, and which one suits the way you stitch.
Embroidery floss is six fine strands twisted loosely together. That loose twist is what gives it its sheen and its smooth coverage, and it is also what makes it vulnerable. Leave a skein loose in a bag and the strands cross each other; pull one end and the crossing tightens into a knot. Wind it too tightly onto a bobbin and you flatten the twist, which shows up later as kinks and loops in your stitches.
Light does the slower kind of damage. Dyes fade with exposure, and many stitchers notice pinks and reds dulling before anything else in their collection. A skein left out on an open shelf near a window will look noticeably flatter after a year or two. Damp is worse in some ways: it encourages mildew, leaves floss smelling musty, and makes the fibres feel brittle when you work with them.
Plastic bobbins remain the most popular choice, and for good reason. They are cheap, easy to label, and they turn a jumbled bag of skeins into an orderly box you can flick through in seconds.
Cardboard bobbins cost less still, but ordinary card is worth avoiding for anything you plan to keep for years. It can discolour floss where it touches, and rough edges snag the strands as you unwind. If you prefer card, look for acid-free bobbins.
Store filled bobbins upright in a compartment box with dividers so that wound floss does not rest against wound floss. Cramming them into a single deep tin undoes most of the benefit.
If you dislike bobbins, stitch bows and thread drops are the gentler alternative. A stitch bow holds the skein as a looped hank that snaps into a plastic holder, which then hangs in a ring binder. Nothing is wound, so nothing is stretched, and the floss keeps its natural twist from the first strand to the last.
Thread drops work on a similar principle. You loop the skein through a hole in a card or plastic drop, write the number along the edge, and hang the drops on a ring or tuck them into a box. You can make your own with sturdy card and a hole punch, though bought plastic drops last longer and wipe clean.
The trade-off is bulk. A binder of stitch bows takes up more shelf space than a bobbin box holding the same number of colours, and sorting through drops is slower than flicking through a compartment tray. They suit stitchers who work with long lengths, use hand-dyed floss sold in skeins, or simply hate kinks.
Not every colour needs a permanent home in your main collection. For a project in progress, the most useful storage is the smallest one.
Small zip bags, the sort sold for beads and buttons, are ideal for single skeins. Write the number on the outside of the bag, punch a hole in the corner and thread the bags onto a ring so they stay together. The floss stays clean, the band stays with the skein, and you can see how much is left without opening anything.
Loose skeins are fine to keep as they are, provided you look after the band. That little paper wrapper holds the skein's shape and carries the number you will need later. Slide it up rather than tearing it off.
Keep loose skeins in a shallow box with a lid, arranged in rows rather than heaped. A jumbled pile lets skeins rub against each other, which fuzzes the surface and starts tangles before you have even picked one up. If you have drawer space, shallow trays with dividers work well.
When you take strands from a skein, hold it by the band and pull one strand at a time, slowly, cutting close to the skein. Pulling two or three together is the fastest way to create a knot you cannot undo.
The best storage is the one you will actually keep up. A perfect colour-sorted binder is no help if you stop refilling it after a month. Start with one box for the colours you use most, one project card for whatever you are stitching now, and a rule that new skeins go into the system the day you bring them home rather than into a bag on the shelf.
Relabel as you go, keep the bands, and give the box a tidy every few months. Ten minutes of sorting while the kettle boils will save you an evening of unpicking knots, and your floss will still look as bright in five years as it does today.
Photo: Magdaline Nicole / Pexels

A practical ten-point checklist for planning craft room storage, from zoning by activity to clear containers,...

Sewing circles, guilds and workshops exist in most UK towns — you just need to know where to look. Here is how to...
Practical ways to fit a sewing room into a small UK flat, using folding furniture, clever layout and vertical...

Sewing thread storage, organization, and inspiration..
