
A craft room rarely collapses in one dramatic moment. It drifts. The bobbin box edges onto the cutting mat, the interfacing slides behind the fabric stash, and one afternoon you lose twenty minutes hunting for a spool of metallic thread you know perfectly well you own. Storage is what stops that drift.
A workable system for sewing and embroidery is less about matching boxes than about deciding where things live, how you find them and how easily they go back. Work through the ten points below in order. The sequence matters more than the shopping.
Divide the room by activity rather than by type of object. Most sewing spaces need five zones: cutting, pressing, machine sewing, embroidery, and bulk storage for the overflow. Each zone should hold everything that activity needs, and nothing else.
The real test is distance. Your ironing board should sit within a step or two of the machine, because you will press seams far more often if you don't have to cross the room to do it. The cutting mat, rulers and rotary cutter belong together, ideally on a surface you can leave set up between projects. Embroidery hoops, stabiliser and the threads for the current design need to be beside the machine, not in a cupboard behind you.
Think of it as the kitchen triangle, sewing edition: machine, iron, bin. If those three are close together, the room already works.
Thread is the item most crafters own too much of and can never find. Sort by type first — general purpose, cotton, machine embroidery, overlocking — then by colour within each type. Keep a wound bobbin with its matching spool wherever possible, and store the rest in a ring or shallow tray so you can see the colour without tipping everything out. A thread rack on the wall is useful, as long as it isn't in direct sun.
Fold fabric to a consistent size so it stacks rather than slumps, and wrap awkward remnants around a card or mini bolt. Give scraps a rule: anything under a set size goes in the scrap bin for patchwork or stuffing, and when the bin is full, it gets sorted or passed on. Rolls of stabiliser and interfacing stand up better than they lie down — a tall bin beside the cutting table works well. Patterns, whether printed or traced, are happiest in a file box with dividers, kept away from damp floors and garages.
Consistency beats prettiness. Decide on your vocabulary and stick to it: if a box says "Feet — overlock", don't later write "Overlocker bits" on its neighbour. Use the words you actually say out loud when you're looking for something, and avoid labels like "Misc", which tells you nothing six months later.
Label the front and the top of boxes that stack or slide out of reach, so you can read them from above. A chalk marker works well on glass jars and wipes off when contents change; adhesive labels are fine for plastic boxes if you press them on firmly. Where a container holds something specific, add the detail that matters — needle size, zip length, whether the elastic is 6mm or 10mm.
Storage only works if it's maintained, and maintenance takes minutes rather than hours. At the end of a project, spend ten minutes returning tools to their zones and emptying the bin beside the machine. Follow a one-in, one-out rule for supplies that accumulate: fabric, patterns and notions. Once a season, walk round with a box and pull out anything you haven't touched, damaged or outgrown. Pass it on rather than storing it indefinitely.
One ergonomic note: keep heavy boxes and bulky fabric between knee and shoulder height, and lift with your legs rather than your back. If you have an existing back, shoulder or wrist problem, it's worth speaking to a physiotherapist about how your workspace is set up before you rearrange the whole room.
Don't attempt the entire room in a weekend. Pick the zone that frustrates you most — usually the cutting table or the area around the machine — and empty it completely. Wipe the surface, then sort everything into three piles: keep, relocate and let go. Put back only what genuinely belongs in that zone, in the containers that suit it, and label as you go.
Live with it for a week and notice what you keep reaching for and what annoys you. Then apply the same process to the next zone. Two or three afternoons spread over a month will give you a system that fits how you actually sew, rather than one that merely looked good in the shop.
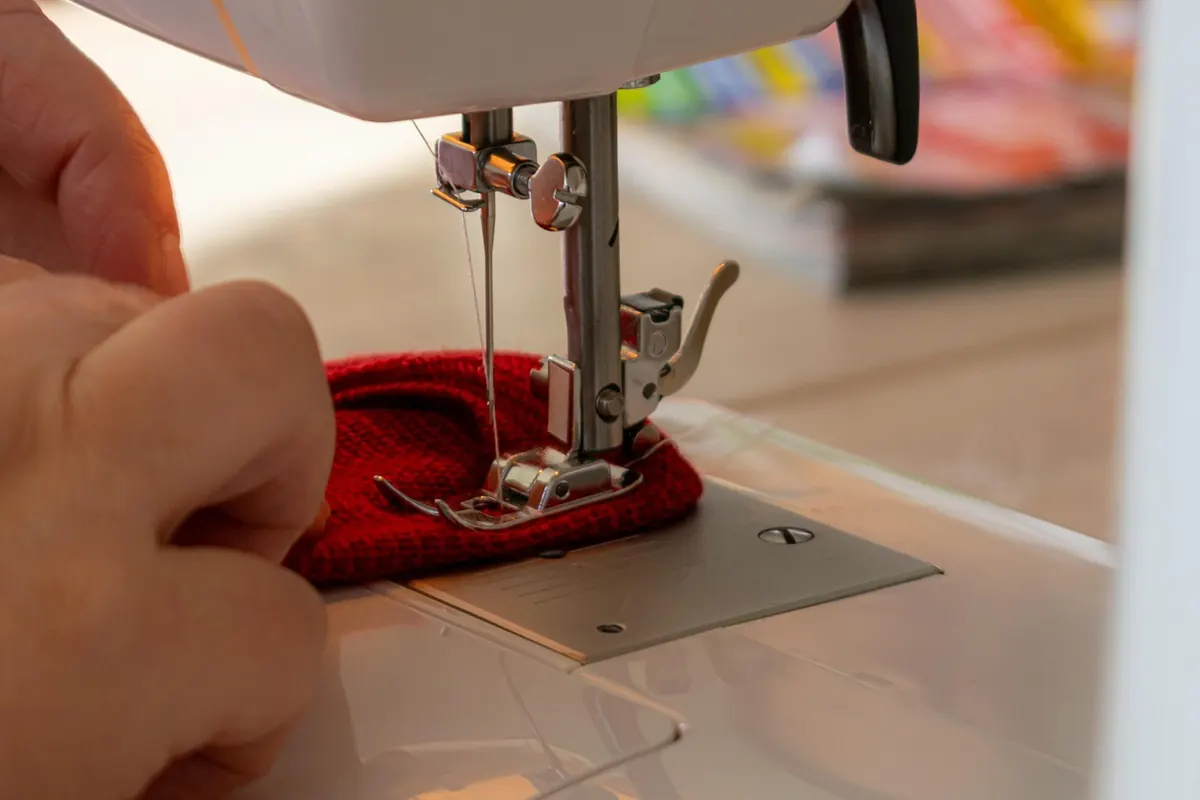
Photo: Onur / Pexels

Sewing circles, guilds and workshops exist in most UK towns — you just need to know where to look. Here is how to...
Practical ways to fit a sewing room into a small UK flat, using folding furniture, clever layout and vertical...
Eight seasonal sewing projects for UK makers, from envelope cushion covers and table runners to tea cosies and lap...

Sewing thread storage, organization, and inspiration..
