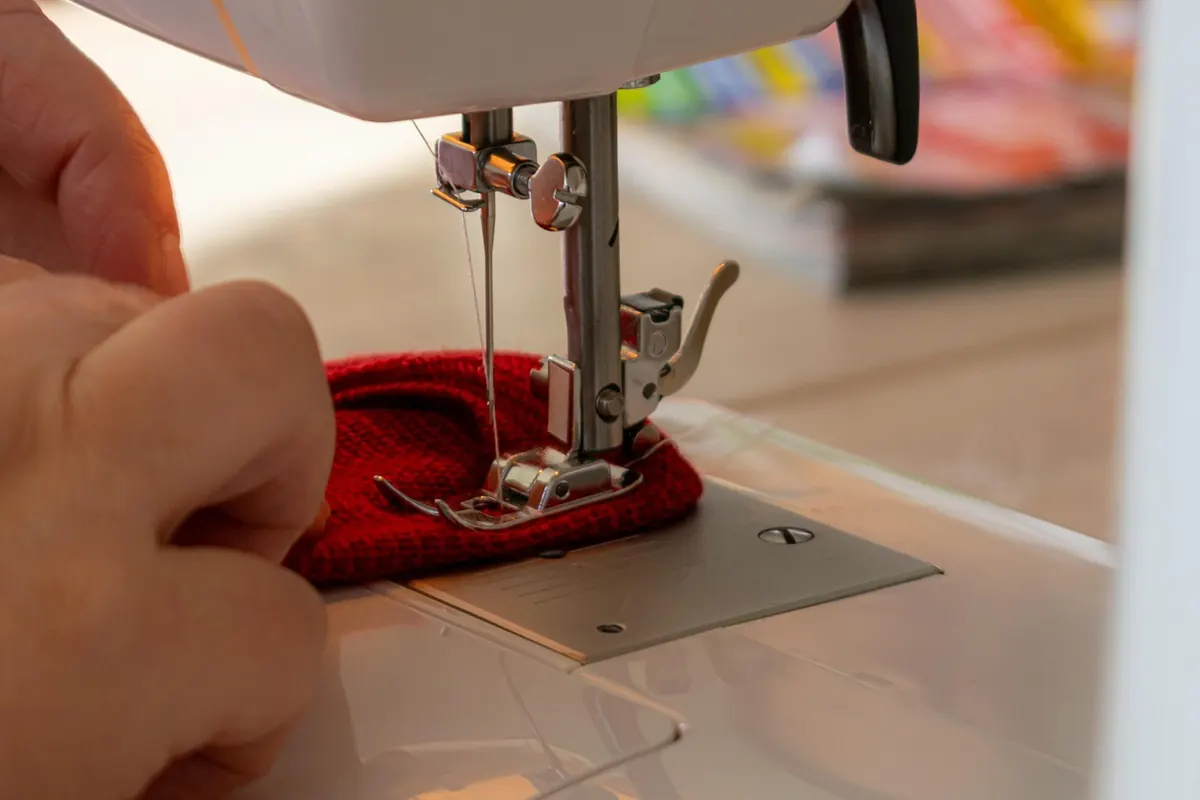
Most of us who sew in Britain do it in a room that has to be something else the rest of the time. A second bedroom barely wide enough for a bed. A corner of the living room behind the sofa. A dining table that gets cleared for meals and then buried under fabric by Thursday. The good news is that a workable sewing space does not need much floor area — it needs a plan, and a ruthless attitude to storage. Here is how to make a small room work properly.
Before you buy anything, spend ten minutes measuring. Not just the walls — measure the gap between the door frame and the nearest corner, the depth of the alcove beside the chimney breast, the height from floor to windowsill. Victorian and Edwardian flats in particular have odd little recesses and deep skirting boards that change what will fit.
Sketch the room on a sheet of A4, mark the door swing and the radiator, and note where the natural light falls. Then decide which of three functions the room has to serve: full-time sewing room, part-time (shared with guests or a home office), or occasional (a corner of another room). That decision shapes everything else.
If the room doubles as a guest bedroom, plan around the bed rather than fighting it. A sofa bed or a daybed along the longest wall leaves a clearer working run than a double bed pushed into the middle.
Professional sewing rooms are built around a simple loop: you sit at the machine, you turn to press, you reach for the iron, you turn back to cut. In a small space that loop shrinks but should not disappear.
An ideal setup keeps these three points within about a metre and a half of your chair:
If the loop cannot be a triangle, make it a line. Many small setups work well as a single continuous run along one wall: cutting mat at one end, machine in the middle, iron at the other. You roll the chair between them, which is far better than a scattered arrangement that forces you to walk around furniture.
Pressing is the step people most often sacrifice, and it shows in the finished garment. A full-size ironing board is the biggest obstacle in a small room, so consider a wall-mounted folding board, a tabletop board that clips onto a shelf, or a wool pressing mat on the end of your work surface. Keep the iron itself on a high shelf near a socket, with the cable routed so it never trails across the cutting area.
Position the machine so your dominant hand is not casting a shadow over the needle. If the window is behind you, you will lean into your own shadow all afternoon. A daylight bulb or a clip-on LED task lamp over the needle area makes more difference than most equipment upgrades. Check how many sockets the room has before you commit to a layout — extension leads with a surge protector are fine, but trailing cables across a walkway are a trip hazard.
Folding furniture has a reputation for being flimsy, and cheap versions are. Buy fewer pieces and buy ones that lock properly.
A drop-leaf table is the single most useful item in a small sewing room. Closed, it can be 30cm deep and hold a machine; opened, it gives you a cutting surface. Look for a gate-leg design with a solid brace rather than a hinge that sags under weight. A folding sewing table with a machine platform that drops to sit flush is even better if you do a lot of dressmaking, because it stops the fabric catching on the table edge.
Other pieces that earn their space:
Floor space is precious; wall space is usually wasted. The aim is to move as much as possible off every horizontal surface and onto the walls, right up to the ceiling.
Start with a pegboard or a slatwall panel above the machine. Thread, scissors, snips, marking tools and small rulers all hang, which keeps the table clear. A magnetic strip screwed to the wall holds pins and small metal tools, though keep anything magnetic well away from your machine's bobbin area and any computerised panel.
Shelves should be shallow — 15cm to 20cm deep is plenty for folded fabric and boxes, and shallow shelves do not turn into a dumping ground. Above head height, use boxes with lids and label them by category: jersey, lining, quilting cotton, interfacing, zips. Below waist height, use drawers for heavy items you do not want to lift.
Fabric is the great space thief. Storing it in stacked piles looks lovely and hides nothing; storing it upright, folded around a comic board or a piece of card and filed like records, lets you see everything at a glance. Sort it, be honest about what you will never use, and pass the rest on.
A small room only stays usable if clutter leaves it regularly. Build three habits:
Rotate your tools rather than owning three of everything. One good pair of shears, one rotary cutter with a sharp blade and one set of pins will do more work than a drawer full of duplicates.
Measure the room properly, including door swing and radiator clearance. Decide whether the space is full-time, shared or occasional. Choose your work triangle, or a straight run if that suits the room better. Add one folding surface and one trolley before you add anything decorative. Then build upwards: pegboard, shallow shelves, labelled boxes, fabric filed upright.
Do a trial run for a fortnight before buying anything else. Sew one real project in the space. You will quickly learn whether the iron is too far away, whether the light is in the wrong place and whether you have anywhere to lay out a pattern. Fix those three things and the rest is just tidying.
Photo: Coernl / Pixabay

A practical ten-point checklist for planning craft room storage, from zoning by activity to clear containers,...

Sewing circles, guilds and workshops exist in most UK towns — you just need to know where to look. Here is how to...
Eight seasonal sewing projects for UK makers, from envelope cushion covers and table runners to tea cosies and lap...

Sewing thread storage, organization, and inspiration..
