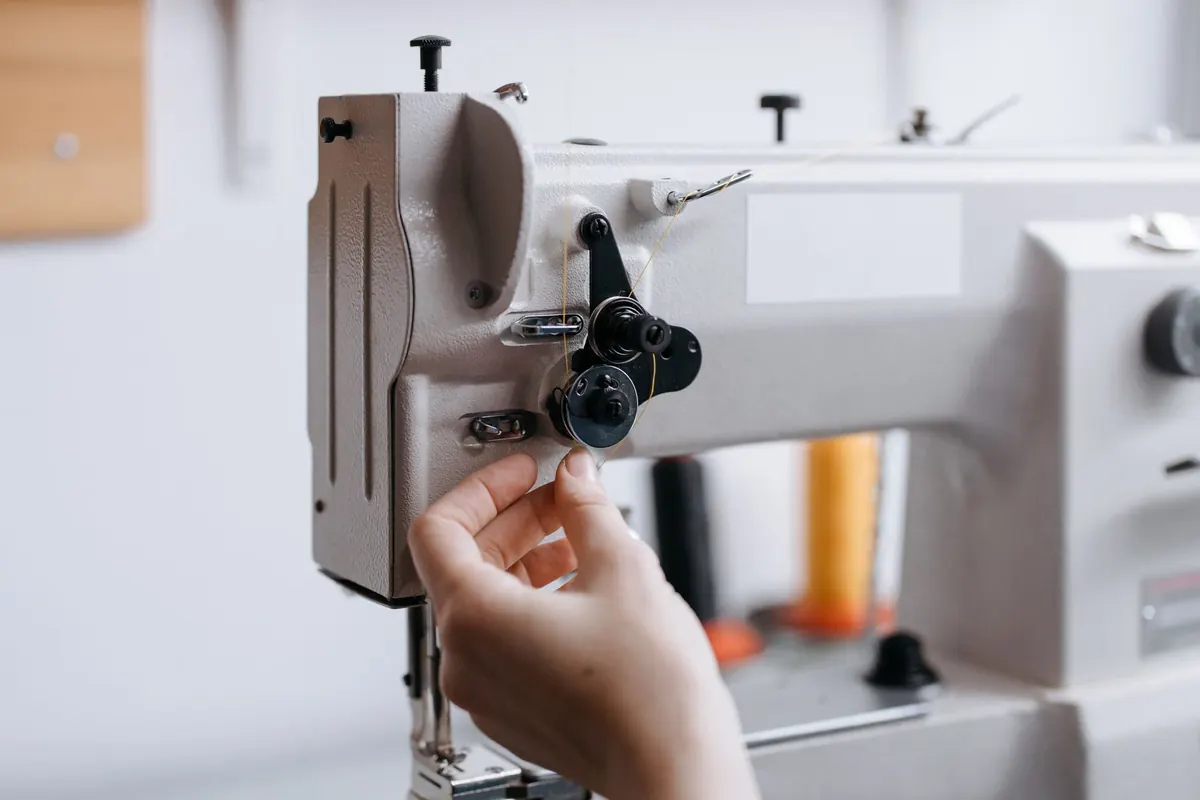
The top thread gets all the attention. It is the one you choose in the shop, the one that shows in the seam, the one you rethread when something looks wrong. The bobbin sits underneath doing half the work, and it is very often the reason a stitch looks loose, loopy or tight in the wrong places. Winding one properly takes about ninety seconds; winding one badly can cost you an afternoon with the unpicker.
Here is how to get it right, along with the mistakes that come up again and again and the quickest way to fix each one.
A good bobbin is wound evenly from flange to flange, firm but not rock-hard, with the thread sitting level with the sides rather than rising above them. Run a fingertip across it: it should feel smooth and slightly springy, like a tightly wound ball of cotton.
If you can see a bulge in the middle, dips at either end, or thread peeking over the edge, it will feed unevenly. That shows up as tension that drifts — neat for a few centimetres, then loose — and no amount of adjusting the top tension dial will cure it. Fix the bobbin first, then look at the machine.
A simple test is to hold the bobbin by its centre and let a few inches of thread hang free. The thread should dangle straight and only unwind when you give it a gentle tug. If it drops thread on its own, the bobbin is too loose. If it will not budge at all, it may be overfilled or wound with too much tension.
Every machine routes the bobbin thread a little differently, so keep the manual to hand the first few times. The principle is the same on almost all of them: the thread leaves the spool, passes through a small tension disc on the bobbin winder, and only then reaches the bobbin.
That disc gives the wound bobbin its tension. Skip it, or let the thread sit outside it, and you get a bobbin that looks neat but winds loose and spongy. Load it into the case and the thread slips, the stitch goes slack, and you start blaming the machine.
If the finished bobbin feels soft enough to squeeze, the thread path was wrong — not the thread, and not the machine.
Keep that little disc clean. Lint from cotton, wool or old thread can lift the thread out of the disc without you noticing. A quick brush with a small cleaning brush every few bobbins will save a lot of guesswork later.
Before you start sewing, stitch a few centimetres on a scrap of the same fabric. It takes ten seconds and tells you more about the bobbin than any amount of staring at the machine.
This is the most common mistake by far. The bobbin looks fine, but it feels spongy and the stitches go loose after a few centimetres. Unwind it, re-route the thread properly through the disc, and wind it again. Do not try to save a loose bobbin by tightening the top tension; you will only make the upper thread too tight and cause puckering.
Thread rising above the flanges rubs against the bobbin case and feeds erratically. If your machine has an automatic stop, let it work. If not, watch the bobbin and stop when the thread is level with the edges. Winding “just a little more” is a false economy.
A bulge in the middle means the thread is not being distributed evenly. Check that the bobbin is seated fully on the spindle and that the tension disc is clean. On some machines, winding too fast causes the thread to pile up in the centre rather than spreading out.
If the thread catches or jerks as it leaves the spool, the bobbin will have tight and loose spots. Make sure the spool pin is the right size, the spool cap is not pressing too hard, and the thread is not caught in the spool’s own groove. A thread stand solves most cone-related problems.
Winding at full speed can stretch polyester and some synthetic threads. The bobbin looks tight, but the thread relaxes later and the stitches loosen. Use a moderate speed, especially with fine or elastic threads.
Bobbins are not universal. A bobbin that is slightly too tall, too short or the wrong curve will sit badly in the case. Check your manual for the correct class and size. If you own more than one machine, keep bobbins separate and labelled.
If you have wound a smooth, firm bobbin and the stitch is still misbehaving, the problem may be elsewhere. Loops underneath usually mean the top tension is too loose or the machine is not threaded correctly. Loops on top often point to the bobbin case tension or a bobbin that is not threaded properly through the case.
Before you touch the bobbin case screw, clean the case and the race. A tiny piece of lint under the tension spring can mimic a tension problem. If you do adjust the screw, turn it in tiny increments — an eighth of a turn at a time — and test on scrap after each change. It is easy to overtighten and much harder to undo by eye.
Also match your thread. A heavyweight top thread and a fine bobbin thread will fight each other no matter how well the bobbin is wound. For best results, use the same thread in the bobbin as in the needle, especially on denim, canvas or any fabric where the stitch needs to lock neatly in the middle.
Front-loading machines use a bobbin case that drops into a metal race; top-loading machines drop the bobbin straight into a plastic or metal case built into the machine. The winding process is similar, but the way the bobbin sits matters. A bobbin inserted the wrong way round will still fit, but it will feed unevenly and cause tangles.
Plastic and metal bobbins behave differently too. Metal bobbins are heavier and can be useful for metallic threads, while plastic bobbins are lighter and common in modern machines. Do not mix them unless your manual says it is safe. Prewound bobbins are a good option for embroidery or long projects, but check that they are the correct class and wound with the right thread weight.
For elastic thread, wind the bobbin by hand, loosely and evenly, then use a bobbin case with reduced tension. A machine-wound elastic bobbin is usually too tight and will break or produce skipped stitches.
None of this takes long, but it turns the bobbin from a mystery into a routine. Wind it properly once, and you will spend less time unpicking and more time sewing.
Photo: cottonbro studio / Pexels

A practical ten-point checklist for planning craft room storage, from zoning by activity to clear containers,...

Sewing circles, guilds and workshops exist in most UK towns — you just need to know where to look. Here is how to...
Practical ways to fit a sewing room into a small UK flat, using folding furniture, clever layout and vertical...

Sewing thread storage, organization, and inspiration..
