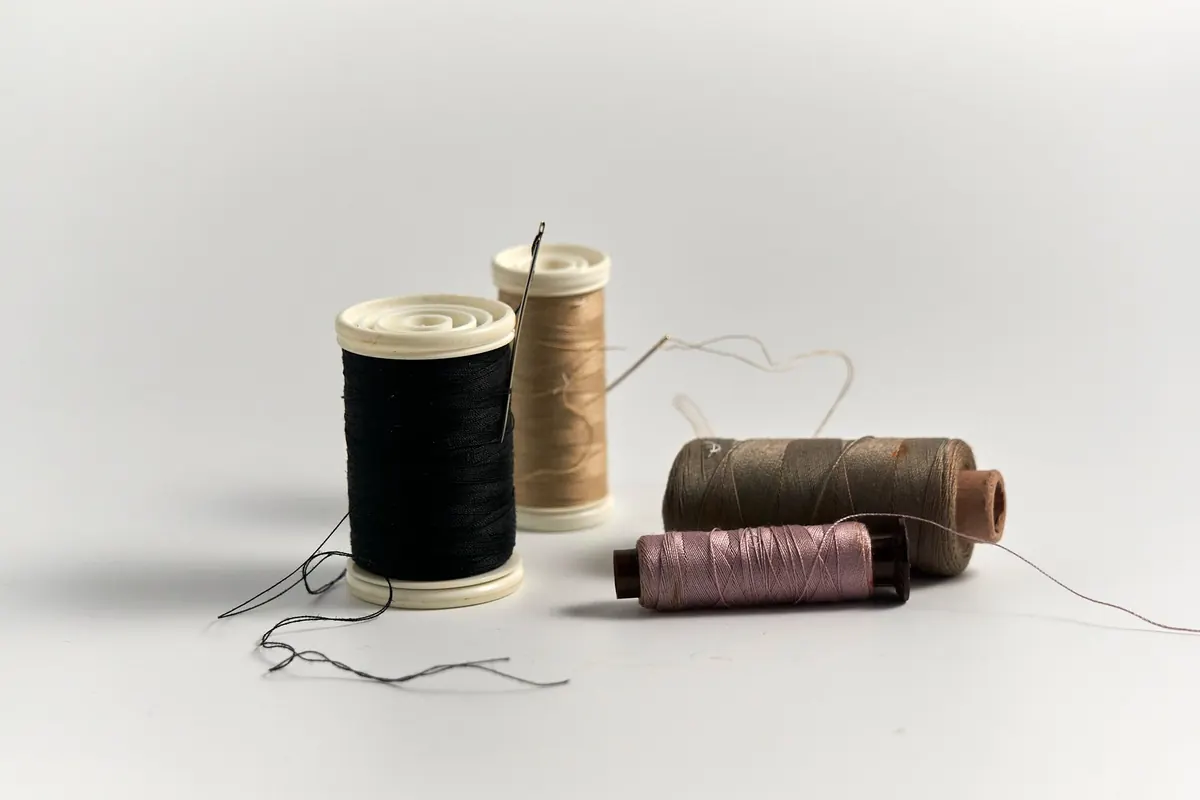
A spool of thread that has spent a year loose in a tin will hand you three problems at once. The tail has wound itself around the spool next to it, the colour has dulled under the window, and you cannot remember whether that navy is polyester or cotton. None of it is serious. All of it wastes time you would rather spend sewing. Good thread storage is not about buying an elaborate system; it is about giving every spool a home, keeping the loose end secured, and storing the whole lot somewhere dark, dry and out of the way of dust. Here is how to do it, step by step.
Loose thread picks up dust, lint and the general fluff of a working sewing space. That grit sits between the fibres and drags as the thread passes through the needle, which is one reason a seam that started cleanly suddenly starts skipping. A tail that has wrapped itself around three neighbours also has to be pulled free, and pulling kinks the thread; a kink that lands in your stitching shows forever.
Light matters too. Thread left on a sunny windowsill will fade, and over months the fibres can become brittle enough to snap under tension. Then there is the identification problem: an unlabelled spool of navy could be cotton, polyester or a cotton-wrapped polyester, and using the wrong one in a bobbin is a reliable route to unbalanced stitches.
There is a practical cost hidden in all of this. If you have to stop, untangle, rethread and rewind every time you change colour, a small repair can stretch into an afternoon. Worse, you may be tempted to use the nearest dark blue instead of the right one, and the finished garment never looks quite sharp. Five minutes of prevention at the start saves that frustration.
None of this needs expensive equipment. It needs a home for every spool, a secured tail, and a storage spot that is dark, dry and closed.
Before you buy a single box, empty every drawer, tin and project bag onto a table. Work in daylight and go through the pile properly.
Grouping by project works too, particularly if you sew in batches, but colour sorting survives best when projects change. If you inherit a tin of thread from a relative, do not assume it is all usable. Old thread can look fine on the spool and still break in the machine. Test each colour before it earns a place in your everyday drawer.
A shallow drawer with a slotted insert keeps spools upright, tails down, and lets you see every colour at once. Felt or foam-lined trays stop spools rolling. This is the quickest system to use and the easiest to keep tidy. Measure your drawer before buying an insert; a tray that almost fits will slide every time you open the drawer, and sliding spools are how tangles begin.
Wall-mounted racks and tiered stands hold a lot in a small footprint and are ideal beside the machine. Keep them out of direct sun, and dust them weekly with a soft brush, because open storage collects lint. A rack looks lovely when every spool is full, but it can become unstable when you add a few heavy cones. Put the larger spools on the bottom rows and the small ones above.
For anything going into a cupboard, a clear box with a lid is hard to beat: dust cannot settle, light stays out, and you can see the contents without opening the lid. Choose one with a gasket if your sewing room is damp, and add a small silica packet to keep moisture away from thread and needles. Stack boxes by fibre or colour, and label the outside so you do not have to unpack three boxes to find one reel.
Not every spool belongs in a permanent system. Thread for a current project can live in a zip pouch or project bag, ideally with its bobbins, pattern and fabric swatch. Keep the pouch closed when you are not sewing. This method is portable, but it only works if you empty the pouch when the project ends. Otherwise you end up with five half-filled bags, each hiding one essential colour.
Even a perfectly sorted drawer will tangle if every spool trails a loose tail. The fix is to secure the end before the spool goes back into storage.
If a tail is longer than a few inches, it will find something to wrap around. Secure it before it goes back in the drawer.
Thread storage is not just about the standard spool. Bobbins, serger cones and delicate specialty threads each need slightly different treatment.
Bobbins are the usual culprits in a tangled drawer because their thread is wound tightly and their tails spring free. Store them in a dedicated bobbin box, a shallow case with individual slots, or a foam insert. If a bobbin belongs with a particular spool, keep them together in a small bag or clip. That way you will not have to guess whether the bobbin matches the spool on the machine.
Cones are heavy and top-heavy, so they need upright storage. A cone tree, a shelf with dowels, or a deep box with dividers will keep them from toppling. Do not stack cones on their sides; the thread can slough off and tangle behind the cone. If you use a serger regularly, keep the four cones for a current project together, but return them to their proper place when the project is finished.
Metallic, silk, rayon and glow-in-the-dark threads are often more fragile and more expensive. Keep them in their original wrappers or in individual small bags. Store them away from strong light, which can dull metallic finishes and weaken fine fibres. Label them clearly, because specialty threads are easy to mix up with ordinary polyester once the wrapper is gone.
Thread likes the same conditions as fabric: dark, dry and stable. A closed cupboard or drawer in a living area is usually better than a damp basement, a hot attic or a garage that swings between temperatures. Avoid windowsills, radiators and anywhere that gets direct sun. If your sewing space is humid, add silica packets to boxes and check them every few months.
Think about access as well as protection. The threads you use most often, such as black, white, cream and grey, should live within arm’s reach of the machine. The rest can go into labelled boxes in a cupboard. This split keeps your daily sewing smooth without turning your whole room into a thread shop.
Tangles rarely happen in one dramatic moment. They build up through small omissions. A short reset at the end of a sewing session keeps the system working.
If you do only one of these, secure the tails. It is the single habit that prevents most tangles.
Thread does not last forever. If a length snaps under gentle tension, if the colour has faded noticeably, or if the spool smells musty, retire it. Brittle thread can break mid-seam and damage your project or your machine’s tension. You can keep weak thread for basting or mock-ups if you label it clearly, but do not let it drift back into your main collection.
Good thread storage is simple: give every spool a home, secure the loose end, and keep the whole collection dark, dry and closed. Sort once, label what you can, and spend five minutes tidying after each project. Do that, and the next time you reach for navy, it will be exactly where you left it, still clean, still strong and ready to sew.
Photo: Richard REVEL / Pexels

A practical ten-point checklist for planning craft room storage, from zoning by activity to clear containers,...

Sewing circles, guilds and workshops exist in most UK towns — you just need to know where to look. Here is how to...
Practical ways to fit a sewing room into a small UK flat, using folding furniture, clever layout and vertical...

Sewing thread storage, organization, and inspiration..
